Table of Contents
Resource - Image
Image Resources in Total Launcher provide a centralized library for importing, managing, and applying static raster graphics, background wallpapers, custom icon sets, and layered textures across your home screen layouts. Unlike vector shapes that calculate lines mathematically[cite: 1] or dynamic images that evaluate live system states[cite: 2], Image Resources store standard bitmap files (such as PNG, WebP, JPG, and GIF) directly in the Launcher's resource database.
By cataloging images centrally within the resource manager, you can reference the same graphic across multiple layout objects, buttons, and window containers, ensuring consistent asset reuse while keeping overall theme backup sizes optimized.
What is an Image Resource?
Total Launcher manages reusable static image assets through the central resource library accessed via:
- Location: Enter
Edit Mode>Launcher options>Resources>Image
Common Use Cases
- Custom UI Textures & Panels: Applying repeating bitmap textures, wood grain, carbon fiber, or brushed metal finishes behind app groups, docks, and the bitmap shader for text objects.
- Static Icon Sets: Storing custom-designed icon glyphs, app drawer badges, and navigation buttons for consistent interface styling.
- Window & Drawer Backdrops: Managing dedicated header art, drawer panel graphics, or custom framing elements.
- Mask Layers & Overlays: Supplying custom alpha-transparent PNG textures used to mask or frame other visual layout elements, as in this section on Folder - Masks.

Managing the Central Image Pool
The Image Resource dialog provides administrative controls to organize and import graphics into the current setup:
| Action / Control see dialog | Tool Role | Functional Description |
|---|---|---|
| Search (Magnifier) | File Filter | Type a keyword to quickly filter imported images by their assigned resource label. |
| Add (+) | System File Picker | Opens the device document/gallery picker to import single or multiple image files into the launcher library. |
| Grid View | Asset Catalog | Displays thumbnail previews of all imported bitmap graphics saved within the active theme resource pool. |
| Long-Press Asset | Context Menu | Opens asset options to crop, rotate (90º increments), flip (horizontal/vertical), or delete unneeded files. |
Naming Convention Tip:
Assign clear, prefix-based labels (such as btn_nav_home, bg_drawer_panel, or icon_settings) when importing images. Structured labels keep complex setups organized and make filtering fast via the built-in search tool.
To keep the filename when using the Add dialog to import an image, select the 3-dot menu and tap the 'Browse' option. Otherwise, selecting an image file from the grid displayed (default device locations) will result in the Launcher assigning an internal naming convention to the imported file.
Supported Image File Formats & Optimization
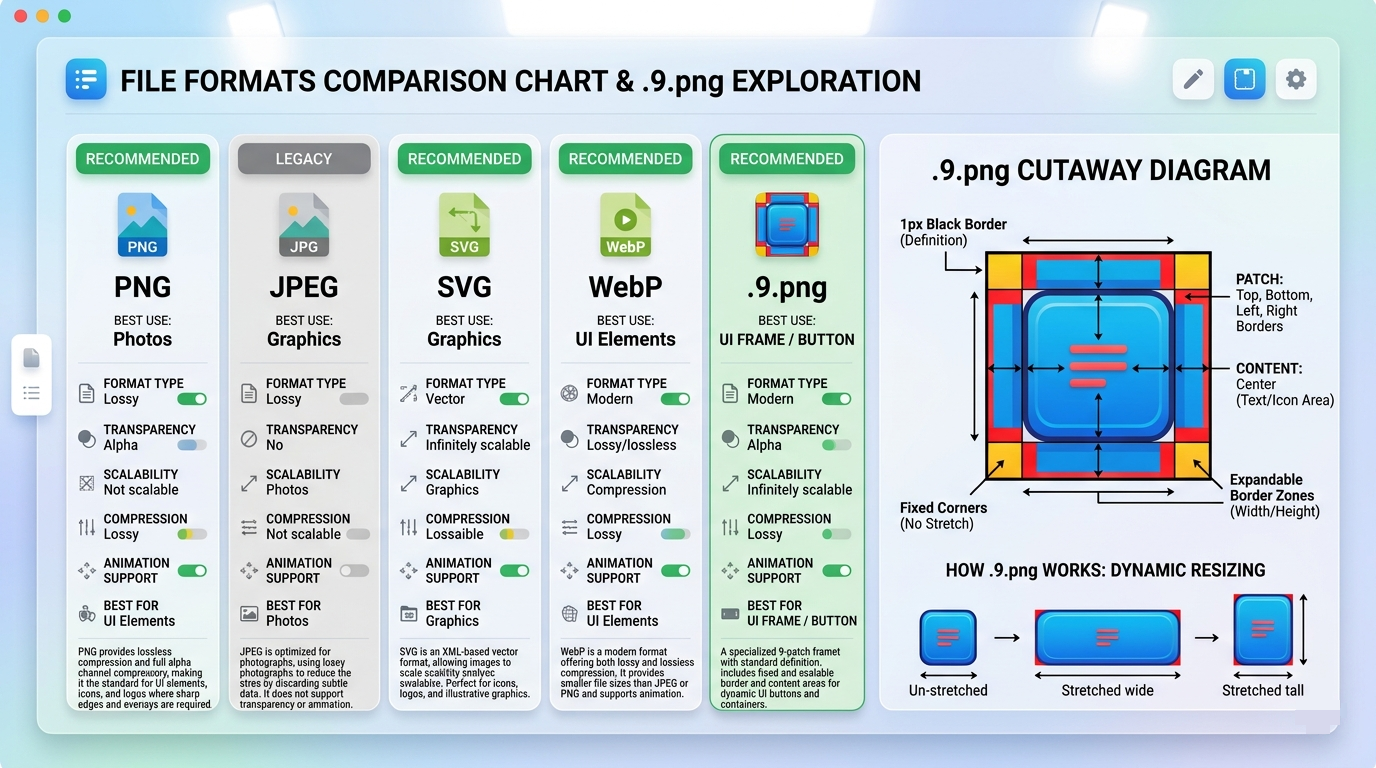
| Format | Tag | Transparency | Animation | Primary Use Case |
|---|---|---|---|---|
| WebP | Recommended | Full Alpha (Lossless / Lossy) | Yes | Primary UI Standard: Best compression efficiency, lowest memory overhead, and sharp rendering. |
| PNG | Recommended | Full Alpha (8-bit / 24-bit) | No | Crisp UI Glyphs: Pixel-perfect line art, transparent controls, and sharp vector-like icons. |
| JPG / JPEG | Specialized | None (Opaque) | No | Photographic Wallpapers: High-resolution scenic backgrounds and large backdrop images. |
| .9.png (Nine-Patch) | Specialized | Full Alpha | No | Flexible UI Frames: Stretchable button skins and panel borders with fixed-radius corners. |
| GIF | Specialized | 1-bit Binary | Yes | Animated FX: Looping animations placed directly on canvas (not inside shape masks)[cite: 1]. |
| ICO | Legacy | 1-bit / 8-bit Alpha | No | Desktop Packs: Multi-resolution containers imported from desktop icon sets. |
| BMP | Legacy | Optional (32-bit ARGB) | No | Uncompressed: Raw pixel arrays; functional but inflates theme backup size. |
Tap to enlarge
Animated GIF Masking Limitation:
Applying a vector Shape resource as an image mask over an animated GIF freezes playback at frame 1. To preserve active multi-frame GIF animation, place the image directly on the canvas using Add (+) > Graphic > Image without attaching an external shape mask.
Object Image Fitting & Margin Positioning
When an Image Resource is applied to a layout object (such as a graphic object, button body, or icon), Total Launcher automatically fits and scales the image within the object frame while maintaining its aspect ratio. The Object Edit dialog uses Margin parameters to control exact positioning, sizing, and edge spacing.
Margin Parameter Controls
| Control | Adjustment Type | Functional Behavior |
|---|---|---|
| Uniform / Linked Margins | Toggle / Chain | When activated, constrains all four edge margins equally to scale the image up or down proportionally within its container. |
| Margin (Top / Bottom / Left / Right) | Numeric / Slider | Adjusts the inner padding between the object frame boundary and the image graphic. Offsets specific edges (e.g., adding extra top margin) to nudge, shift, or align the image within asymmetrical UI designs. |
| Suggest | All | Automatically suggests margins for the 4 sides based on a Launcher algorithm. |

Page vs. Object Display Behavior: Global scaling styles (such as Center, Fill, Fit, and Tile) apply when configuring full-canvas Page Backgrounds via Launcher options > Background. For individual Canvas Objects, visual scaling and boundary offsets are governed directly through the object's Margin properties.
Step-by-Step Workflow: Importing and Applying Assets
Importing an Image to Resources for later use
- Enter
Edit Modeand openLauncher options. - Navigate to
Resources > Image. - Tap Add (+) and locate the desired graphic format from the device or cloud storage (managed by the device file manager).
- See the following subsection #4.a for the file naming and selection process.
Assigning an Image to an Object
- In
Edit Onmode, long-press any widget, button, or container and then tapOptionsin the Object Design menu (top). - In the Options - Edit dialog, tap
Image. - Select the feature desired from the dialog listing:
- Color
- Dynamic color
- Icon pack
- Shape
- Image
- Dynamic image
- This discussion involves 'images'. Select
Image.
- View or scroll the grid listing. Tap the desired image to select it and place it in the Option dialog's Image holder.
- If an image needs to be imported:
- Tap the
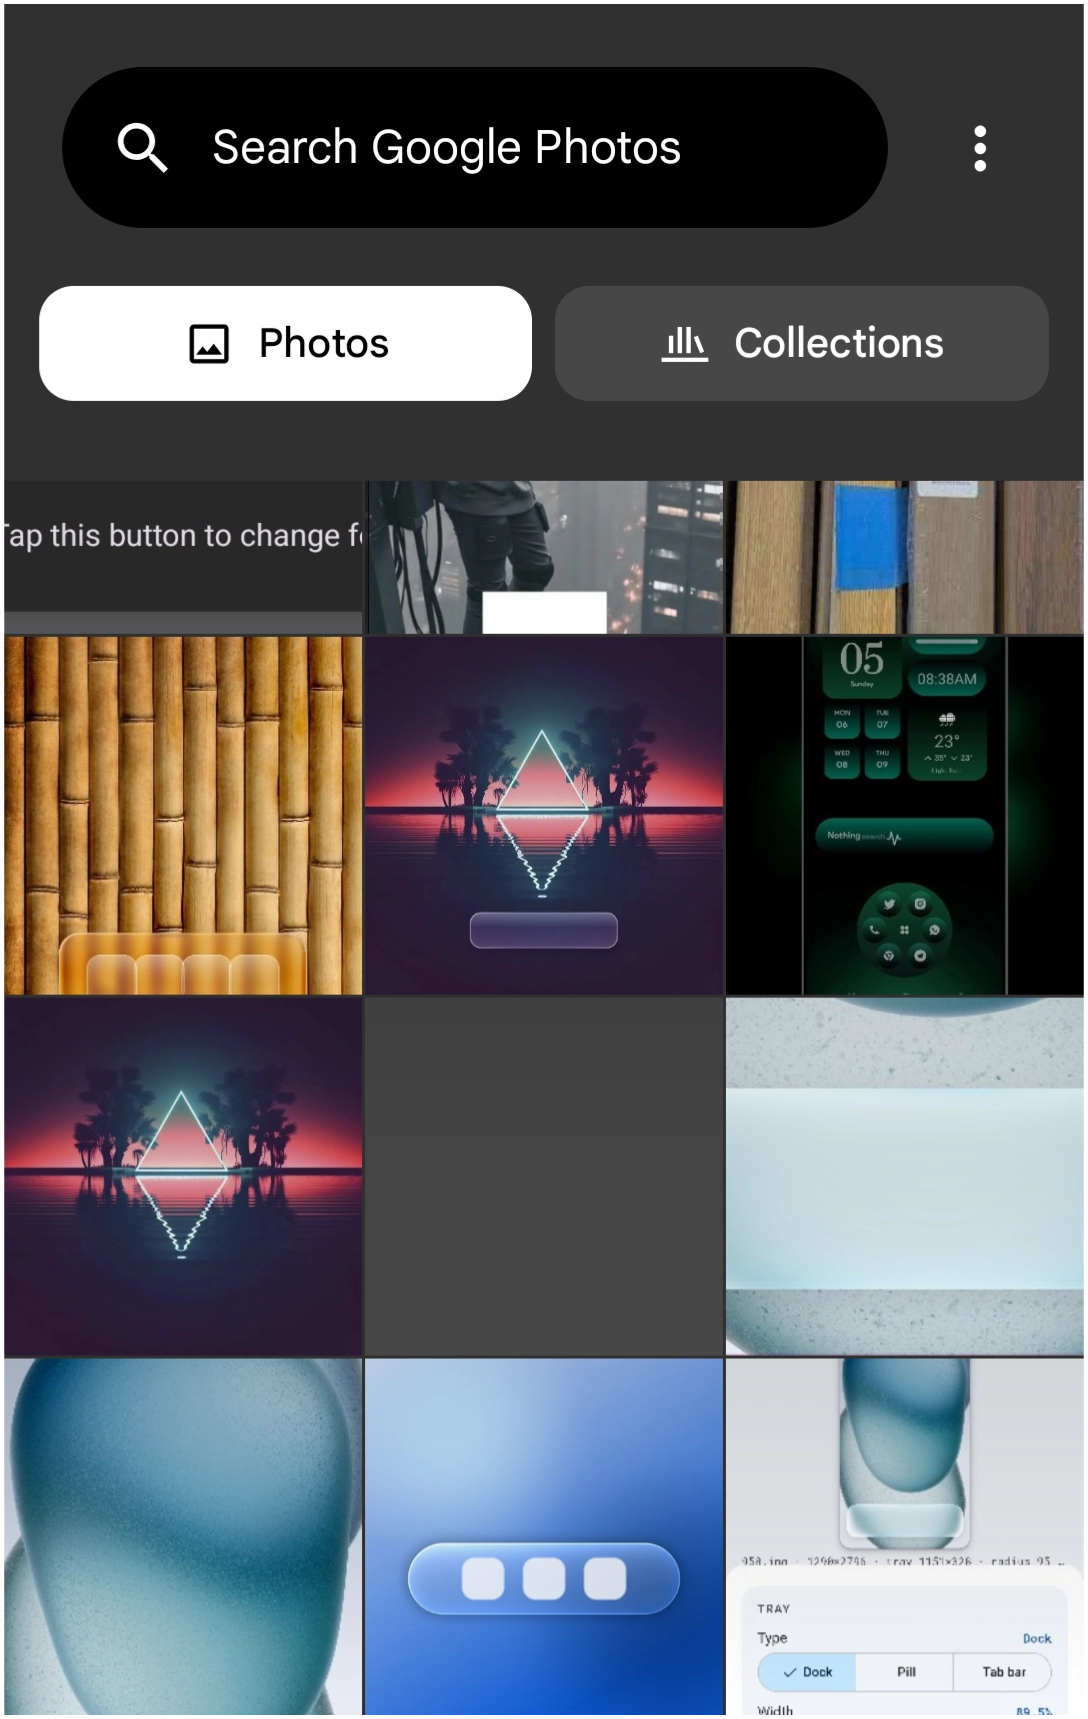
Add(+) icon in the lower right corner to open the Image dialog as shown on the right. Use itsSearch input,Photos, orCollectionstabs. The3-dotmenu offersSelect(the only option which allows retention of the source filename (filename can not be changed). Otherwise, the Launcher will assign a sequential system filename. TheSettingsoption controls Google Clould settings.++ - Tap a selection to place the image in the Option Edit dialog's image holder.
- Other image options in the dialog are discussed here including margins and background.
- Tap
OKto proceed and place the image with the object.
Advantages of Centralized Image Resources
- Unified Asset Management: Storing graphic assets within the central resource library allows you to reuse common buttons, headers, and backgrounds across multiple pages without maintaining redundant duplicate files.
- Optimized Backup Packages: When exporting your layout via Total Launcher's backup tool, shared image resources are bundled cleanly, preventing bloated file sizes.
- Consistent Theme Identity: Updating or swapping a central image resource allows global asset adjustments across your entire setup without rebuilding individual page layouts from scratch.
Comments & Feedback
Toby Lancer is ready to help! Look for the Quick Help form:
► Desktop: left sidebar located near the bottom for Private to Admin
► Mobile: 3-bar menu at page top.
► Use the Discussion section below to share any experiences and communications with other Total Launcher users.
► Any Registered User can directly update this and any wiki page if desired.
Moderation: To keep the manual clean, all comments are held for appropriateness review. Preview any comment before submitting it. It will not be displayed after submission until it is reviewed. So, please, do not resubmit.
Formatting: If using any code snippets, place them inside code tags (e.g., 'code') using double single quotes (') before and after to keep them readable.
Be Kind: This is a community effort. Please keep feedback constructive and on topic.
~~DISCUSSION~~