meta data for this page
Translations of this page:
- en
Section 1.2.d - Understanding Resources
Total Launcher includes many built-in elements and objects, such as basic fonts, shapes, and dynamic objects. The user can create or modify these to the customization of the project AND save these within Total Launcher for future use.
Resource Center Access:
- Enter Total Launcher Menu mode with a “Tap and Hold” the lower left or right screen area or any blank area of the screen
- Enter the user password if activated during setup
- From the lower left corner of the screen, tap Menu, then select Launcher options to show a dialog listing which includes Resources.
 |  |  |
Resource Categories
- Shape - Built-in forms include rectangle, round rectangle, oval, and arc designs which can be manipulated by the user. A complete discussion is available in Section x.x.x - to be named [insert link].
- Image - Compatible formats: ico, gif, jpg, jpeg, png, webp. These are also discussed in Section x.x.x - to be named [insert link].
- Dynamic image – Objects which change based on various input, such as notification badges or counts, time and calendar events, time-based actions, and more. See Section x.x.x - to be named [insert link]for more details.
- Shadow – The appearance light, darkness and color can be created for a selected object at a determined angle. See Section x.x.x - to be named [insert link]for more details.
- Typeface - Basic fonts are pre-installed in Total Launcher. This dialog is where the user can install any single font or font folder on the user's device. See Section x.x.x - to be named [insert link]for more details.
- Sound – Compatible formats: mp3, ogg. See Section x.x.x - to be named [insert link]for more details.
- Window – A window can be described as a container for objects. It can be “hidden” and made visible with animation by another object's action. Windows have also been used to replace “pages”. See Section x.x.x - to be named [insert link]for more details.
- Sequence – An action or multiple ordered actions which can be repeated. Objects can be assigned a sequence to automate the series of actions. See Section x.x.x - to be named [insert link]for more details.
Resource Dialog:
- When in one of the 8 resource categories, the dialog will show any previous created, imported and saved objects. The dialog, is identical for each of the categories with any exceptions noted. See Figures 1-8.
Figure 1  | Figure 2  | Figure 3  | Figure 4  | Figure 5  | Figure 6 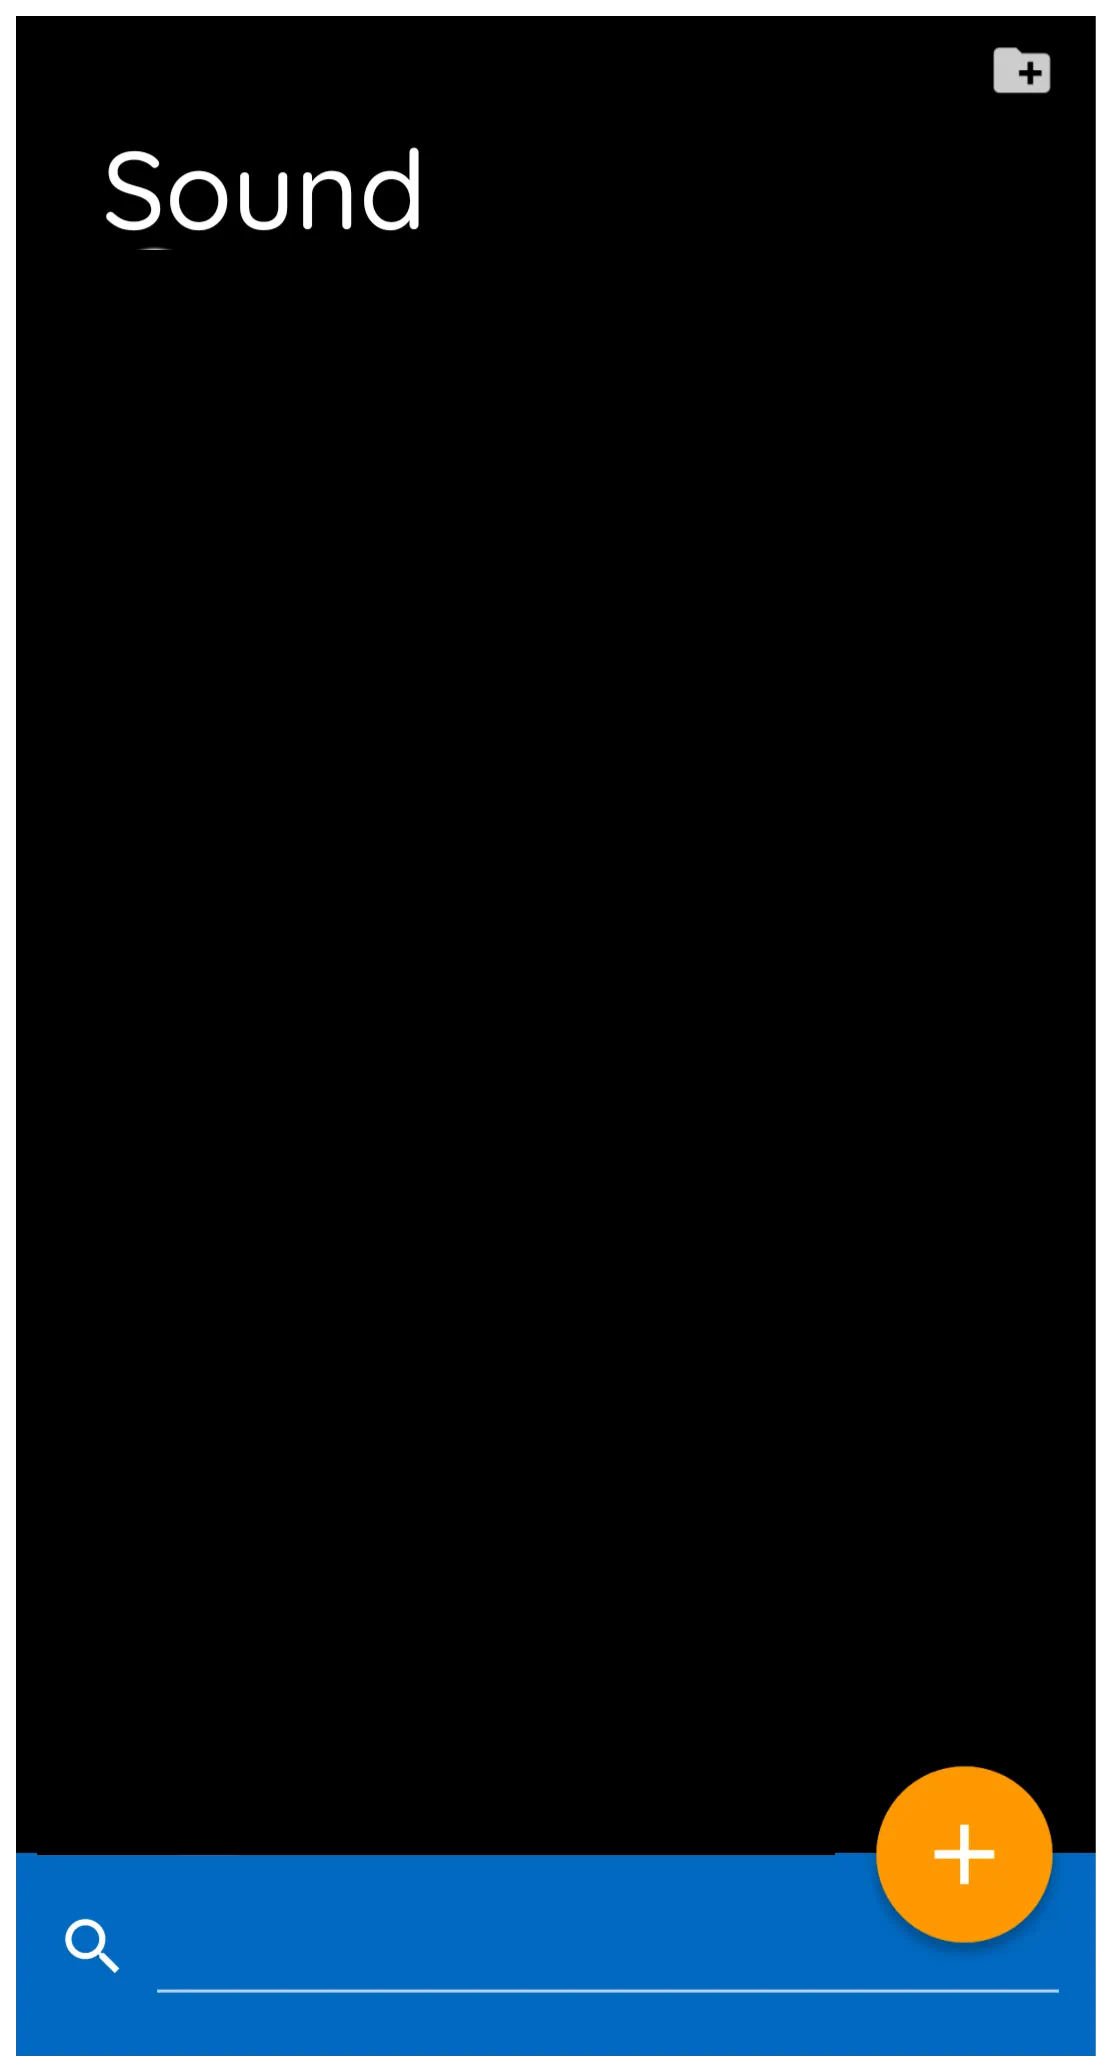 | Figure 7  | Figure 8  |
- Add icon -

- The shape, image, dynamic image, window and sequence objects can be created by tapping the “+”.
- This action is also available during the Add Object >; Graphic >; Image >; Do Nothing process as shown in this video demo
- Or the action can also be accomplished when working with an existing object through the top Object Design Menu > Options > Edit > Image process as shown in this video demo
- The sequence and window elements can also be created by tapping theor, alternatively, Add > Graphic > Image > Do Nothing > Design Menu > Action - Action-on-Tap
- Search icon -

- Located at the bottom of the shape, image, dynamic image, and sound dialogs, it provides for user input to locate a previously saved or imported element
- Folder Add icon -

- Located at the top right in the image, typeface (fonts), and sound elements, this allows the user to select any folder on the device and add that folder's contents to that Total Launcher resource category.
- The typeface (fonts) element can also show the bold types (B) and italic type (I) fonts available.
- Sort icon -

- Located at the top right in the image, typeface, and sound elements, this sets the sequencing format to
- Filename
- Recently added
- File size
Resources – Add to a Category's Storage
Resources - Add if rooted
It is possible to place an file directly in Total Launcher's file storage are if the user's device is rooted.
- /Android/data/com.ss.launcher2/
- Tap any open area of the screen
- If password or fingerprint protected, enter the appropriate security action.
- Select the Main Menu icon in the lower left screen
- Select Launcher options
- Select Resources
- Select the element category desired
- To add a single element
- Press the add icon (+) in the lower right screen
- The device file manager will open. Navigate to the desired device folder or cloud, select the desired file
- To add all elements in a single folder
- Press the folder add icon ( ) in the upper right screen
- The device file manager will open. Navigate to the desired device folder or cloud folder, select the desired folder.
- For additional detail on creating
- Shapes, see Object: Customizing - Shapes
- images, see Dynamic Image – Built-in [insert new link]
- Windows, see [add the section here]
- Sequences, see [add the section here]
Resources – Delete from Storage
Any element in the 8 resource categories can be user deleted.
- Tap any open area of the screen
- If password or fingerprint protected, enter the appropriate security action.
- Select the Main Menu icon in the lower left screen
- Select Launcher options
- Select Resources
- Select the element category desired
- Press and hold the desired element to highlight
- Select the delete icon (trashcan) in the lower right screen to delete the element
Tip: See also the following sections on creating and customizing objects:
[add the sections here]
Comments & Feedback
Toby Lancer is ready to help! Look for the Quick Help form:
► Desktop: left sidebar located near the bottom for Private to Admin
► Mobile: 3-bar menu at page top.
► Use the Discussion section below to share any experiences and communications with other Total Launcher users.
► Any Registered User can directly update this and any wiki page if desired.
Moderation: To keep the manual clean, all comments are held for appropriateness review. Preview any comment before submitting it. It will not display after submission until reviewed. So, please, do not resubmit.
Formatting: If using any code snippets place them inside code tags (e.g., 'code') using double single quotes (') before and after to keep them readable.
Be Kind: This is a community effort. Please keep feedback constructive and on topic.
~~DISCUSSION~~